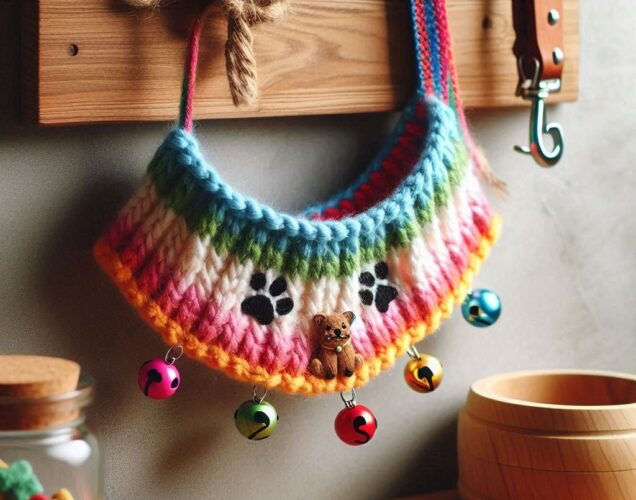
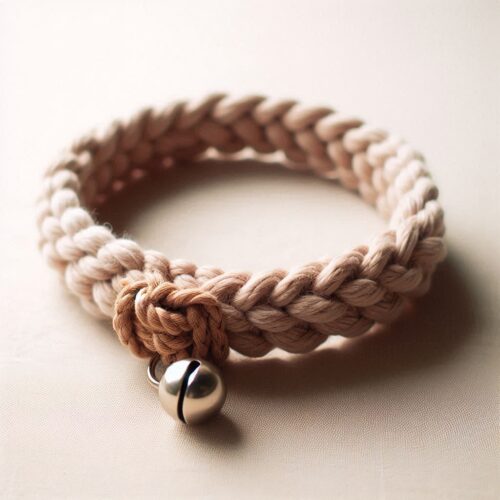
Today, I’m going to walk you through the cozy world of knitting pet collars. This isn’t just about crafting something warm and snug for your furry friend; it’s also about personalizing a piece of their wardrobe with your own hands. Imagine your pet parading around in a stylish collar that you’ve meticulously crafted!
Before diving paws-first into the process, let’s chat about the materials you’ll need. Choosing the right yarn is vital—not just any thread will do. You want something soft yet durable, and washable too, because pets can be messy. Nylon and acrylic blends are usually a solid bet, but if luxury is what you’re aiming for, wool or even cashmere can be splendid options.
Now what about needle size? This is crucial. Get it wrong, and you might end up with a collar befitting an elephant. Size depends on your yarn choice and the desired thickness of the collar. For most pet collars, smaller needles—say size 6 to 8 (4mm to 5mm)—are often recommended for a tight, sturdy weave.
Don’t forget the supporting cast: a reliable measuring tape to get your pet’s neck measurements right, a pair of trusty scissors for snipping, and a few other bits and pieces that will help make your knitting experience smoother.
With materials in hand, you’re set to embark on the actual knitting journey. You’re going to find out about measuring for the perfect fit and selecting a pattern that complements your pet’s size and swagger. But remember, your first attempt doesn’t need to be your last; you can always adjust your approach down the road. Let’s move to the knitting patterns and techniques that will bring your pet collar to life.
The Knitting Process: Patterns and Techniques
Have you ever wondered if there’s an easy way to create something special for your furry friend? Well, knitting a pet collar might be the perfect project for you. But don’t worry too much about the complexity; I’m here to help you through the knitting process with straightforward patterns and techniques.
First things first, you’re going to measure your pet’s neck. It’s not just about making sure the collar fits; it’s also about comfort and safety. Get the neck circumference and add a couple of inches for a good fit. Remember, you can always adjust your approach down the road after some trial and error.
Choosing a pattern is fundamental, and luckily, you’ve got options. Pick one that resonates with you and suits your pet’s personality. If you want to go simple, a basic rib pattern works wonders for stretch and flexibility. Or, for something more unique, how about incorporating some stylish cables or lacework?
When it comes to actually starting your knitting, cast on the number of stitches the pattern requires for your pet’s size. It’s crucial to keep your stitches consistent for a uniform look. If the stitches are too tight or too loose, it could lead to an uncomfortable fit, so aim for a happy medium.
One of the joys of knitting is that you can customize nearly everything. You can mix colors, add stripes, or even weave in your pet’s name with duplicate stitch embroidery. It’s those personal touches that make the collar one of a kind. And trust me, it’s those details that will earn you the most tail wags and purrs.
Sizing and Finishing Touches for All Pets

You’ve mastered the steps, and your needles have danced through the yarn. Now it’s time to tailor that cozy collar for pets of all shapes and sizes. Here’s how you can adjust your handiwork to ensure a custom fit for your furry friends, whether they’re as small as a teacup poodle or as grand as a Great Dane.
Knitting isn’t a one-size-fits-all craft, which is why adapting your pattern for various pet sizes is crucial. For tiny tails, decrease the number of stitches and rows. For larger companions, simply increase them. Remember, the key to a happy pet is a collar that’s snug, but never tight.
While the collar should fit well, you also want room for growth, especially for puppies and kittens. Ribbed patterns or buttonholes can add stretch or adjustability. And, if you’re using a buckle, ensure you leave a section open to thread it through and sew it securely in place.
Finally, I’m here to talk about safety – it’s my top priority, after all. Give your collar a good once-over, checking for loose stitches or sharp edges that could catch on something. After all, your pet’s comfort is just as important as their style.
Hand-knitted pet collars are a blend of function and fashion. They’re a testament to your craft and care. Wash them gently by hand, and they’ll last through many romps in the park and cozy naps. So go on, give your pet a loving squeeze and admire your hand-crafted creation – it’s a collar that’s as unique as they are.


What a delightful guide to knitting pet collars! I love how you’ve combined practicality with creativity in this project. Knitting a collar for your furry friend not only adds a personal touch to their wardrobe but also ensures they have a comfy, custom-made accessory.
From my own experience, I’ve found that choosing the right yarn makes a huge difference in the final product. For a sturdy and long-lasting collar, I recommend a nylon or acrylic blend, which holds up well to the wear and tear pets can put on their accessories. I also agree that starting with simple patterns, like ribbing, can be both rewarding and manageable, especially if you’re new to this type of project.
The idea of incorporating personal touches, such as adding stripes or even your pet’s name, is fantastic! It’s these small details that make the collar feel special and unique. Also, your tip about checking for safety is spot on—making sure there are no loose ends or sharp edges is crucial for keeping our pets comfortable and safe.
Thank you for your lovely comment! I’m glad you enjoyed the guide on knitting pet collars. You’re absolutely right—choosing the right yarn is essential for durability, and a nylon or acrylic blend is a great recommendation for withstanding the wear and tear from our pets.
I’m excited to share that I plan to come up with a collar pattern myself and will add it to the guide once it’s written and tested, so stay tuned! Your insights are so helpful, and I’d love to hear any more tips you have as well!