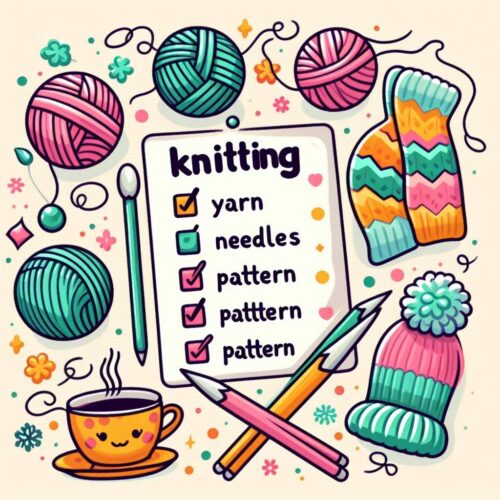
Hey there, fellow pet lovers! Whether you’re a seasoned knitter or just starting out, creating something special for your furry friend is one of the most rewarding projects you can undertake. It’s all about turning that ball of yarn into a cozy sweater, a snug blanket, or even a cute little hat for your pet. But before you get those needles clicking, there are a few key things to keep in mind to make sure your knitting adventure goes smoothly. That’s where this knitting pattern checklist comes in!
Throughout this guide, you’ll find practical tips and essential steps to help you craft the perfect knitted item for your pet. From picking the right project and yarn to ensuring a comfy fit and safe design, this checklist covers all the bases. By following these steps, you’ll not only create a beautiful, handmade piece but also ensure it’s something your pet will love and use.
So grab your favorite cup of tea, settle into your favorite knitting spot, and let’s get ready to knit something amazing for your four-legged family member. Ready, set, knit!
Determine Your Project
The first step on your knitting journey is deciding what exactly you want to create for your pet. Are you thinking of a stylish sweater, a cozy blanket, a quirky hat, or perhaps some warm booties? The options are endless. Let your imagination run wild while also considering what your pet might need.
Next up is getting the measurements right. Sizing is super important to make sure the item fits comfortably and looks good. Grab a measuring tape and note down key measurements: length from neck to tail base, girth around the widest part of the body, and neck circumference. Trust me, accurate measurements will save you a lot of time and effort down the line.
Keep in mind the specific traits and needs of your pet. For example, if you have a short-haired dog, a sweater or blanket can provide much-needed warmth during chilly days. On the other hand, a long-haired cat might enjoy a light, breathable item to lounge on.
Quick tip: Write down these measurements and keep them handy. You’ll refer back to them often, especially when choosing or customizing your knitting pattern. It’s also helpful if you’re planning multiple projects in the future, ensuring consistency and a comfy fit every time.
Choose the Right Yarn

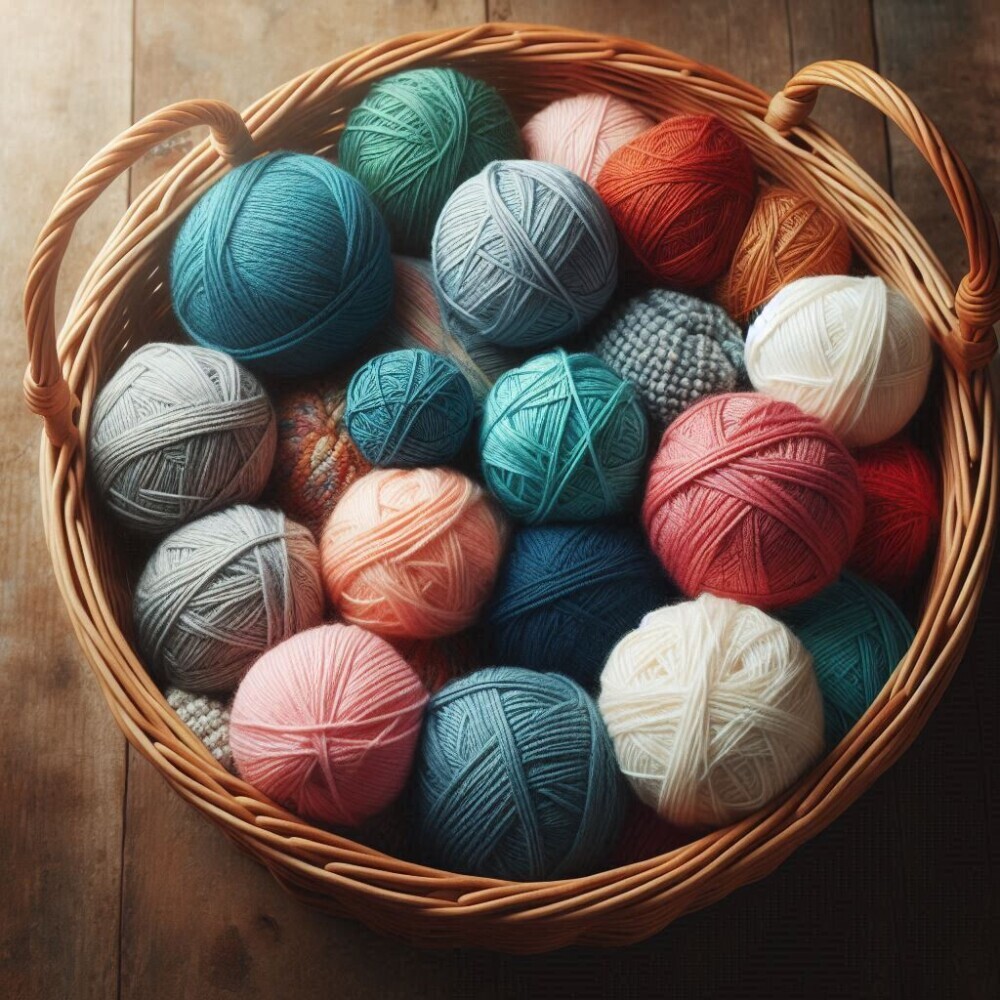
Selecting the perfect yarn is like picking the right ingredients for a recipe. Your choice will directly impact the comfort, durability, and overall look of the final piece. So let’s break it down!
First up, go for soft, hypoallergenic yarns. Materials like cotton, acrylic, or wool blends are fantastic since they’re gentle on your pet’s skin and fur. Plus, hypoallergenic options are a safer bet if your pet has sensitive skin or allergies.
Durability is another crucial factor. Pets, especially the rambunctious ones, will put your knitted item through its paces. Choose yarns that can withstand wear and tear and frequent washing. Pet-friendly yarns that hold up after multiple washes can save you a lot of headache and effort.
Color and texture are more than just a style choice. Bright, vibrant colors might be visually appealing, but consider your pet’s needs too. For example, darker shades are better at hiding dirt and stains, while softer textures will make the item more comfortable for your pet to wear or use.
Always keep a couple of sample yarns handy. Run them through your fingers and against your pet’s fur to see how they feel. If your pet enjoys the texture, you’re golden. And hey, it’s a win-win if the yarn looks great and feels amazing!
In summary, picking the right yarn isn’t just about aesthetics; it’s about creating something that your pet will love and use repeatedly. Now that you’ve got your yarn sorted, you’re one step closer to knitting up something truly special.
Gather Essential Knitting Tools
You’ve decided what to knit and picked out the perfect yarn, so now it’s time to gather all your knitting tools. Let’s make sure you’ve got everything you need to breeze through your project.
First, grab the needles. Check the yarn label or your pattern for the recommended needle size. Using the right size is crucial for maintaining the correct tension and making sure the final piece turns out as expected.
Next, a measuring tape is a must-have. Accurate measurements are key to making sure your knitted item fits your pet perfectly. Keep this tool handy throughout the project.
Stitch markers are your best friends when it comes to keeping track of your pattern and making changes. They’ll help you avoid mistakes and keep everything in order, especially for more intricate designs.
A tapestry needle is essential for weaving in loose ends and finishing off your project neatly. It’s one of those small tools that make a big difference in the final look of your piece.
Consider having a pair of scissors dedicated to your knitting supplies. Sharp, small scissors allow for precise cutting and finishing touches.
Lastly, a row counter can be pretty handy, particularly for more complex patterns. It helps you keep track of where you are, so you don’t have to constantly recount your stitches.
Having all these tools ready and within reach will make your knitting process much smoother. Plus, being prepared means you can dive into the creative part without any interruptions. Happy knitting!
Design or Find the Ideal Pattern
With essentials gathered and ready to go, it’s time to sort out your knitting pattern. If you’re new to knitting, using an existing pattern is a great starting point. There are tons of free and paid patterns online tailored for various pet items, from sweaters to blankets.
When selecting a pattern, ensure it matches your pet’s measurements. A pattern that offers various size options is a bonus, making it easier to tweak for a perfect fit. It’s not uncommon to make small adjustments as you go, so don’t be afraid to veer from the pattern’s instructions a bit if it means a better fit for your furry friend.
For the more adventurous or experienced knitters, designing your own pattern offers ultimate customization. You can take inspiration from existing designs or totally make it your own. Sketch out your ideas, create a stitch chart, and test a small swatch to ensure it’ll work nicely with your yarn and needles.
Remember, the goal is to create something that fits well and feels comfy for your pet. Don’t be disheartened if the first attempt isn’t perfect. Knitting is a learning process, and each project improves your skills.
Having a reliable pattern will guide your knitting journey, giving you the structure while allowing for personal tweaks along the way.
Measure Your Pet Accurately

Accurate measurements are crucial for creating a knitted item that fits your pet perfectly and comfortably. First, grab that trusty measuring tape you set aside. Let’s get these measurements right!
For the neck, measure around the base where a collar would naturally sit. This is an essential measurement for sweaters, collars, and even hats. Keep the tape snug but not too tight; you want the item to be comfortable and not choke your pet.
Next up is the chest or girth. Wrap the tape around the widest part of your pet’s chest. This is usually just behind their front legs. Getting this measurement right ensures that sweaters and vests won’t be too tight or too loose. Again, snug but comfortable is the key here.
Lastly, measure the length from the base of the neck down to the base of the tail. This dimension is crucial for properly fitting sweaters, coats, and blankets. Make sure your pet is standing straight when you do this to get the most accurate measurement.
Write all these numbers down and keep them handy. These measurements will be your guide throughout the project and help you make pattern adjustments if needed. Double-check them to be sure; getting them right the first time saves you lots of hassle later.
When measuring pets with especially fluffy or short fur, adjusting your measurements can be important. For pets with fluffy fur, gently compress the fur while measuring to ensure a snug fit without being overly tight. Conversely, for pets with short fur, consider adding a bit of extra room to the measurements to prevent the item from being too tight against their skin.
Good measurements mean a better fit, which means a happier pet. So take your time and get it right! See my post How To Measure Your Pet For Knitted Items for more information.
Prioritize Comfort and Safety
Comfort and safety should be top priorities when knitting for your pet. Your handmade item should feel good and be secure for your pet to wear. First, make sure the fit is neither too tight nor too loose. A tighter fit might restrict movement, while a looser fit could cause discomfort or get tangled up.
Breathable fabrics are a must, especially if you live in a warmer climate. Materials like cotton or blends are excellent choices that allow air circulation, keeping your pet cool and comfy. Thicker yarns can be great for colder climates but ensure they still offer some breathability.
Ease of wear is equally important. Knit designs that are easy to put on and take off to make life easier for both you and your pet. You don’t want your pet struggling or feeling stressed every time you dress them up. Velcro fasteners and simple pull-over designs can be great options.
Safety is a big concern, too. Avoid using small parts like buttons or beads that can become choking hazards. Stick to simple designs that have secure seams to prevent any unraveling. Durable stitches and reinforcements in high-stress areas are also a good idea.
Watch out for any potential allergens in the yarn you choose. Some materials might cause allergic reactions, so it’s best to stick to hypoallergenic options. Also, check for any loose threads or parts that could get chewed up or swallowed. Keeping these safety tips in mind ensures your knitting project is a hit with your pet and keeps them safe.
Test, Adjust, and Perfect the Fit
Now comes the moment of truth. It’s time to see how your creation fits your pet. In an ideal world, your first attempt would be perfect, but let’s be real, adjustments are usually needed.
Start by having your pet try on the piece. Observe how it fits around critical areas like the neck, chest, and length. Does it look too tight or too loose? Are there areas where it’s bunching up or hanging awkwardly?
Make mental notes and, if possible, snap a few photos for reference. These will help you identify specific areas that need tweaking.
If the fit isn’t quite right, don’t worry. Adjustments are part of the process. You might need to add or remove a few rows or stitches, or tweak elements like armholes or neck openings. If you used stitch markers, now’s the time they really prove their worth, allowing you to make precise changes.
Re-test after adjustments. You might not get the perfect fit on the first try, and that’s okay. Each modification gets you closer to that ideal, comfy fit for your pet.
Quick tip: If you’re using a delicate yarn, be extra gentle during this fitting and adjustment phase to avoid stretching out or damaging the fibers.
The goal here is to make sure your pet feels comfortable and can move freely while looking absolutely adorable in your handmade creation. Patience and attention to detail will make all the difference.
Finishing and Care Instructions
You’ve made it to the final touches, and your knitted item is almost ready to be shown off! Start by weaving in all loose yarn ends using your tapestry needle. Secure those ends properly to avoid any unraveling after your pet starts wearing or using the item.
Next, give your piece a good blocking. Blocking helps your knitted piece hold its shape and gives it a professional finish. Simply dampen the item, reshape it to the desired dimensions, and let it dry flat. This step is especially important for pet garments to ensure a comfy and neat fit.
Once blocked, it’s crucial to hand over detailed care instructions. Specify the best washing method for the yarn you’ve used. Most pet-friendly yarns can handle a gentle hand wash or a delicate machine wash, but it’s always a good idea to check the label. Make sure to mention drying instructions too—many yarns should be air-dried to prevent shrinking or distorting.

Regularly observe how the item is holding up over time. Pets can be rough on their belongings, so periodic checks for wear and tear can prevent potential issues. If you notice any loose stitches or damage, fix them promptly to keep the item in good shape.
Completing these final touches not only enhances the look and feel of your knitted creation but also extends its lifespan. Your pet will appreciate the care and love you’ve put into every stitch, and you’ll have a stylish, functional piece that stands the test of time.

